Ask clients to fill out intake forms when scheduling, and have all of their information post seamlessly into Shape as a new record. Clients can also quickly view your real-time availability and self-book their own appointments—and even pay online, reschedule with a click, and everything is tracked within Shape.
Integration Capabilities
Receive Acuity appointments into Shape automatically, in bulk, upon integration.
Appointment recipients will be added as leads in Shape assigned with “Acuity” as the source, in bulk, upon integration.
Future appointments will either update existing records with new calendar events or add new records with a new calendar event if new recipients do not exist within Shape.
How to Integrate your Acuity Account
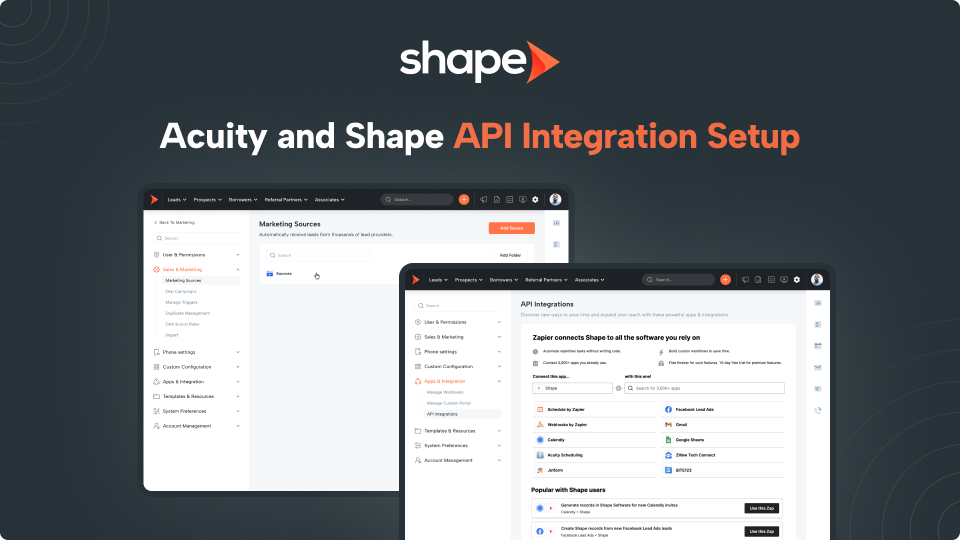
Go to Marketing Sources to create an Acuity Source
Start by navigating to "Settings" by clicking the gear icon in the top navigation bar. Next click the dropdown labeled "Sales & Marketing" to find the "Marketing Sources" settings page.
Click the "Add Marketing Source" button at the top of the page and Title the source "Acuity" and set the campaign to ON
Go to the "API Integrations" settings page to integrate
Start by navigating to "Settings" in the top navigation bar. Next click the dropdown labeled "Apps & Integrations" to find the "API Integrations" settings page.
Find the Acuity integration block and click "Connect"
Click on the “Connect” button which will take you to the Acuity login page. Log in and allow permissions if prompted.
Once your integration is connected, Shape will get all of your appointments and your appointment recipients will be added as leads in Shape assigned with “Acuity” as the source. Future appointments will either update existing records or add new records if new recipients do not exist within Shape. Appointment details can be found under the “Calendar” tab when within a record.
Frequently Asked Questions
Does Acuity create leads in my system?
Yes! Appointment recipients will be added as leads in Shape assigned with “Acuity” as the source, in bulk, upon integration.
Will Acuity update existing records?
Future appointments will either update existing records with new calendar events or add new records with a new calendar event if new recipients do not exist within Shape.
Where can I locate the Shape calendar?
The Shape Calendar can be located on the far right-hand side of Shape by clicking on the calendar icon.
The calendar will provide a comprehensive overview of calendar events for your user. If you hold a higher permission level, you will be able to see other team members events as well.