Table of Contents
Support Guide
Email Templates in Shape Software
-
Shape Software

Options for Email Templates in Shape
Email Templates
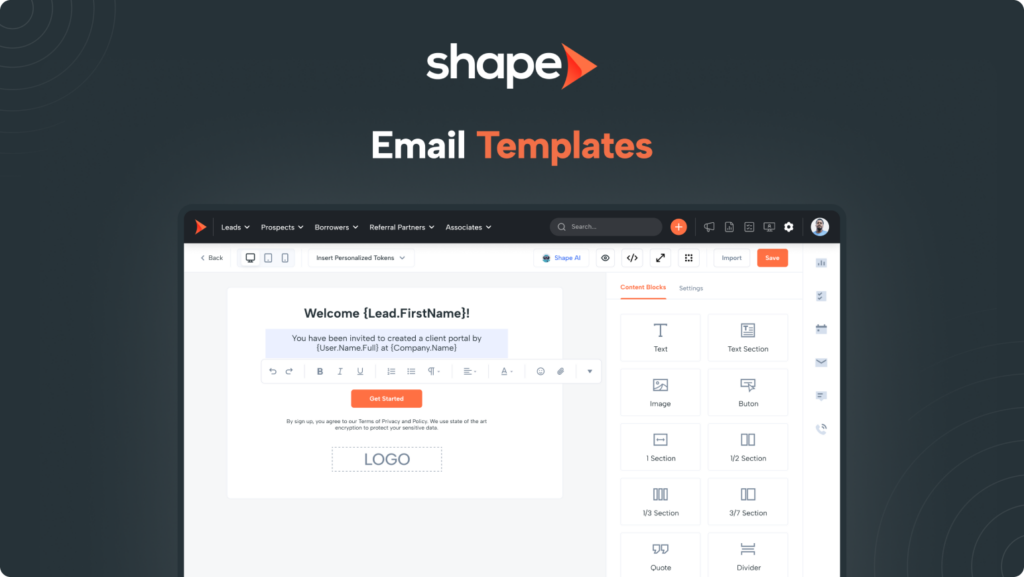
An email template is a prewritten email, simplifying and expediting the email creation and sending process. These templates serve various purposes, from manual to automated campaigns. Email templates are versatile and appear in different contexts within the system, from regular email sending to drip campaigns and more. In Shape, you have access to two distinct settings pages for crafting email templates: "Email Templates" and the "Advanced Email Template Builder."
1. Go to Settings > Email Templates
You can easily add and oversee email templates through the "Email Templates" settings page, where you'll find a comprehensive list of all templates, including both rich text and advanced options.
Quick Access Link: https://secure.setshape.com/email-templates
2. Create folders to organize your email templates
Click the "Add Folder" button to create a custom folder to further organize your templates and make them easier to locate.
3. Click "Add Email Template" to create a new template
To create a new email template, simply click the “Add Email Template” button at the top of this settings page. Then, assign a title to your template and select the folder where you’d like to store it.
4. Name the template, craft a customer-facing email subject, & adjust the send settings
The “From” and “To” fields auto-populate to come from the assigned user’s email and send to the email on file for any record type, but you can also manually input a specific email address. To notify a particular user or related contact, use the “Insert Personalized Tokens” button in the “From” field to select your desired recipient.
5. Use the "Role" checkmark to customize which roles have access to particular templates
The role section determines which user roles can view the email template in their email popup. If a user role is not selected, the template won’t appear in the email dropdown, preventing users from sending campaign content via manual email.
6. CC and BCC
You can use the CC and BCC fields to notify specific users or contacts. To CC or BCC multiple individuals, simply separate their email addresses with commas, like this: test@test.com, support@setshape.com, noreply@setshape.com.
7. Email Footer
Below your email send settings, you will find the option to add a footer to your email template. This footer can be used to include additional information to your template such as disclaimers, a company motto, or additional links that you want to provide to your customers.
8. Choose an email signature
Select the default email signature for your template from the dropdown beneath the message formatting section. Options include the assigned user’s default signature, a specific department user’s signature, or the company email signature. If you prefer not to use any email signature, select the “Don’t use any email signature” option.
Note: If you are copying and pasting information from an external platform, make sure to paste WITHOUT formatting. Formatting can appear distorted in Shape if you are pasting text from an incompatible source.
Advanced Email Template Builder
1. Go to Settings > Advanced Email Template Builder
Add and manage advanced email templates via the “Advanced Email Template Builder” settings page: https://secure.setshape.com/template/builder/showdata to build or import more complex templates.
2. Click "Create Template" to add a new email template
To create a new email template, simply click the orange “Create Template” button located at the top of this settings page. If you wish to preview the template or modify its details, such as the subject line, recipients, sender, CC, BCC, and more, click “Edit Details.” For direct editing of the template content, press “Edit Template.” Additionally, you have the options to duplicate or delete templates as needed.
3. Import Existing Email Template HTML
Most people have templates pre-made that they are looking to import into the advanced email template settings. Download or export to HTML with images to import into the advanced email template builder.
4. Save your teamplate & set the sending details
After finalizing your template, simply click the orange “Save” button. Following this step, the last remaining task is to input the necessary details, including the template name, subject, sender, recipients, and more.
Note: If images are not hosted online in a public area, the images may not come through. Double click on the image and upload and select image files to save in your advanced template.
Enhance the style of your Email Template using the HTML WYSIWYG Editor
WYSIWYG stands for "What You See Is What You Get." Shape's rich text HTML editor offers a wide array of both basic and advanced features tailored to a variety of use cases.
1. Basic Styling
Basic styling options like bold and italic are integrated directly into the main code, making it ideal for when you require a straightforward WYSIWYG HTML editor.
2. Paragraph Format
Employ standard paragraphs, insert code snippets, or emphasize key concepts using headings.
3. Font Family
Give your text some personality using different font family from your custom list of available fonts.
4. Font Size
Adjust font size with pixel-perfect precision, eliminating vague size labels like “small,” “medium,” and “large.”
5. Colors
Give your thoughts some color. Change the text or background color as you wish, selecting from your color palette.
6. Images
Drag & drop, browse or paste a URL to insert an image. Drag & drop images to re-position them, click to resize, change the alignment, make links, and replace or delete.
7. Word & Excel Paste
Choose if you wish to keep or clean formatting when pasting from Microsoft Word and Excel and the rich text editor does it all for you.
Frequently asked questions
The images and videos are not coming through to the email recipient
This is commonly due to the recipient’s email provider blocking or limiting what links, images, and videos are allowed to be received.
My email did not send to the correct recipient.
This is due to the “To” and “From” fields on the email templates settings page not being set to send to the intended contacts. Make sure to check that these fields contain the merge token for the correct contact.
My bulk email did not send out
This depends on the method used to send as well as if there was a specific time set for these to send. The scheduled bulk emails run off of the 24 hour time format. Ex 7:00pm=2100
If I deactivate a user and unassign those records, who will the email come from if I bulk email them?
If you attempt to bulk email records that have been unassigned from a deactivated user, the email will fail due to that user’s email no longer being found. However if you email them 1:1 from within the lead details, the email will come from the user initiating the email.
Keywords: email, template, advanced, advanced email template, HTML, font, styling, tags, to, from, CC, BCC, signature, email signature, bulk email

