Table of Contents
Support Guide
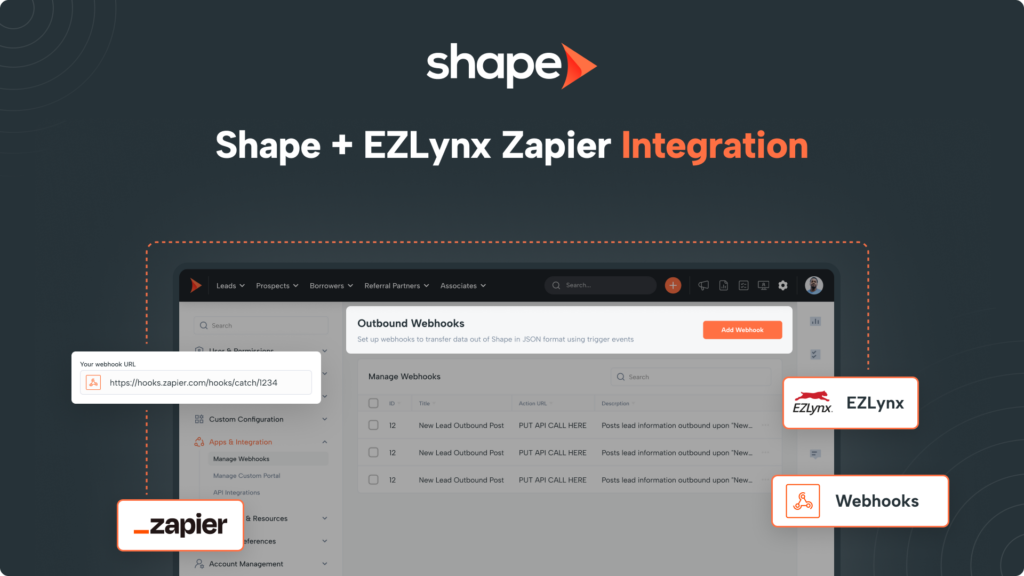
Shape + EZLynx Zapier Integration
-
Shape Software

What is EZLynx?
EZLynx is a valuable platform for insurance agencies, primarily known for its comparative rating engine and agency management system. It enables agents to generate real-time quotes from multiple carriers, manage policies, handle claims, and store documents efficiently.
Integration Benefits
Shape and EZLynx work seamlessly together by combining Shape's lead management and CRM capabilities with EZLynx's quoting engine, allowing agents to easily create new opportunities in EZLynx directly from Shape. This integration streamlines the transition from lead to quote, enhancing the sales process.
Integration Requirements
- Shape Account with Admin Access
- EZLynx Account
- Zapier Premium Account
Integration Capabilites
- Receive lead information seamlessly from Shape to your EZLynx account automatically.
How to Integrate Shape to EZLynx Via Zapier
Integrating Shape and EZLynx via Zapier Webhooks is very straightforward and consists of the steps outlined in detail below:
Click on the gear icon in the upper right-hand corner of the screen. Under the Apps & Integrations dropdown, you will find the Manage Webhooks!
Outbound Webhooks: https://secure.setshape.com/manage-webhooks
Click “Add Webhook” at the top of the page and name your new webhook “Shape>EZLynx” or something similar.
Shape will ask for a URL so leave this page open as we will come back to this webhook shortly!
In your Zapier account, click “+ Create” in the top left of Zapier and Choose “Zap”.
For the Trigger Event, Select “Webhooks by Zapier”
For the Trigger Event, select “Catch Hook” and click “Continue” until you get to the “Test” stage.
You will be given a “Catch Hook URL”. Copy this URL and return to Shape! Go ahead and leave this page open as we will return to it shortly.
Back in Shape, paste the catch hook URL from Zapier into the “URL” field in the Shape Webhook.
In the “Data Mapping” section of the Shape Webhook, this is where you will determine what fields you wish to send to EZLynx.
Under the “Shape Data Points” column, choose your fields. Under the “Data” column, this is typically where you will select the mappings for EZLynx, however, since we are using Zapier to map the data, you can copy the field names from the “Shape Data Points” column and paste them in the “Data” column as well.
Once finished, click “Save”!
Navigate to the Automated Actions (Triggers) settings page linked here!
For the “Trigger Type” we recommend choosing “Status” as this will initiate your webhook based on a status change in Shape. You can choose an existing Status, or, create a custom status on the Manage Status settings page linked here.
For the Automation Type, select “Initiate Outbound Webhook” and the Automation Action will be the name of the webhook you created.
Lastly, make sure the Trigger is set to Active to ensure your test in received successfully.
Click the Orange “+” button in Shape to create a new record. Fill out the fields that you are trying to send to EZLynx so they can be mapped in Zapier.
Simply update the status of the Shape record to the status you set in Trigger to initiate the Outbound Webhook.
EZLynx Support Team is standing by to assist with the final step of the Zap, mapping the fields!
Simply email support@ezlynx.com or call +1-877-932-2382 with the details of your request.
Frequently asked questions
Yes of course! Simply email help@setshape.com and our team will be more than happy to assist where we can.
If you notice leads are missing information, please send the details to help@setshape.com and our team will be able to review this further for you.
Please also review your Shape Webhook and Zap to ensure that the data is being mapped correctly.
We recommend reaching out to Zapier support to troubleshoot the error. While many of our team members are well versed in Zapier, it is usually best to have Zapier Support review any errors in their system!
Keywords: EZLynx, webhook, Zapier, catch hook, campaign, source, URL, API, integration, insurance,

