Table of Contents
Support Guide
Manage Triggers in Shape Software
-
Shape Software
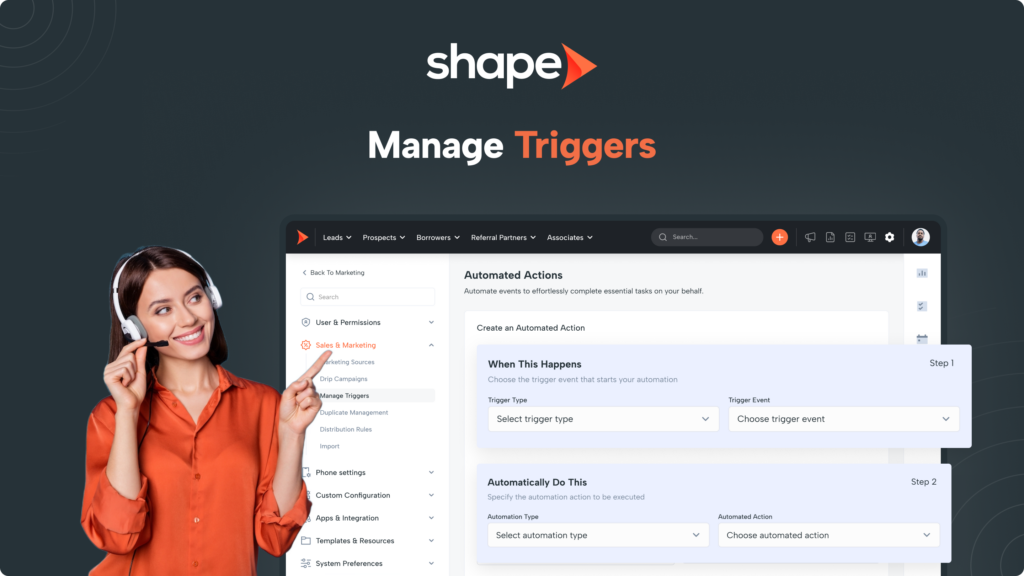
What are Automated Actions (Triggers)?
Triggers are a way to automate aspects of your system from productivity tools within your CRM (note popups, calendar popups, record conversions, etc) to communication tools such as an email or text message being sent to your customers.
Note: For communications that require follow up over longer periods, as opposed to one-off events like birthdays, it is recommended to configure them within drip campaigns.
Get Organized with Folders
1.
Go to Settings > Automated Actions (Triggers)
In the top navigation, navigate to the settings icon. On the settings pages left-hand sidebar, click “Automated Actions (Triggers).” There, you should see your list of triggers in the system. These represent folders of triggers, which helps with organization and turning on triggers in bulk.
Automated Actions (Triggers): https://secure.setshape.com/triggers
2.
Create a New Trigger or Folder
At the top of the page, you can create a new Automated Action. You will also see the folders below that contain multiple automated actions.
Opening up a folder from the main list view will show you all of the triggers within that folder. If the status is “OFF” then these triggers are inactive and no triggers that you define here will take place. Turning this to “ON” will activate the triggers.
3.
Use the "..." from the list view to delete or edit folders
On the righthand side, you will find the “…” dropdown to delete trigger folders from your system or edit their name. It is important to note that when the folder is deleted, the triggers within them will also be deleted.
Understanding Triggers
Triggers in Shape can be boiled down to an IF THEN statement. For example, IF an application has been sent to the customer, THEN Shape will change the status to “Application Sent.”
- In the folder view, create a brand new trigger from the table at the top of the page.
- Utilize the folder view for a quick look at your triggers. You can see the name, description, type, trigger, action type, actions schedule, and the priority without navigating tons of different views!
- After selecting Step 1 for your action, you will find the fields to fill and options to choose to set the automation. Options include specific days, actions, user assignment, portal fields, and many more detailed below.
Detailing Action Trigger and Automation Details
The “Action Trigger” and “Automation Details” are dynamic lists that allow you to select which Trigger (IF) and Action (THEN) you would like to perform after selecting the type of automation you want to perform.
Action Options
The “Action Trigger” and “Automation Details” are dynamic lists that allow you to select which Trigger (IF) and Action (THEN) you would like to perform after selecting the type of automation you want to perform.
Calendar Event
The calendar event option will initiate a trigger based on when a calendar event occurs.
Call Outcome
The call outcome option will initiate a trigger based on a call outcome. The call outcome is available on the dialer slideout for users to choose and the call outcomes are editable via Settings > Manage Call Outcomes.
Call Status
The call status option will initiate a trigger based on the status of the call (ie: Connecting, Connected, Completed, etc.). The call status options are based on the telephone provider that is connected to your account by default and cannot be adjusted.
Check Mark Selection
The check mark selection is a check mark available in your template. For example, on the Mortgage system, “Spanish Speaking” is a check mark option. In the Solar system, “HOA” is a check mark example.
Date
The date option will pull up available date fields that can be entered into your template. If you’d like to send a birthday email, for example, use the date field if it’s an available date field in your system.
eSignature
If you are using the integrated eSignature Solutions in the system, you can initiate a trigger based on a sent or completed eSignature document.
Marketing Post
If you’d like to initiate a trigger off of a field that is sent into your system through a marketing post (for example if a lead provider is sending you data), you can select the field you’d like to initiate a trigger off of what is sent into Shape. Please note if you select a field that is not currently being sent through the marketing post, the trigger will be null.
Marketing Source
Initiate a trigger off of a particular lead source. Manage your marketing sources via Settings > Marketing Sources.
Note Type
The note type option will initiate a trigger based on a specific note type. The note type is available on the add note popup for users to choose and the note types are editable via Settings > Manage Note Types.
Portal Field Entry
Initiate triggers based on portal fields that your customer inputs. As a customer enters in a field and presses the “Next” button on the application, this portal field entry trigger can be initiated.
Portal Invitation Sent
Activate triggers when sending portal invitations to clients.
Portal Status
Initiate a trigger on new portal registrations, completed applications, uploaded documents, etc.
Process Checklist Item
Initiate triggers based off of checklist items selected from any checklist you have created in Settings > Manage Checklists.
Record Conversion
Initiate a trigger off of a new record conversion (for example, when a prospect converts to an account).
Specific Date
Initiate a trigger off of a specific date. This is how you can achieve newsletter blasts to your entire database on a specific date (and time).
Status
Initiate a trigger on a status change. This is the most commonly used trigger initiation selection. Manage Statuses via Settings > Manage Statuses.
User Assigned
Initiate a trigger based on when a specific user is newly assigned.
Note: You can also set triggers up to perform an action BEFORE a Calendar Event occurs, or before a specific Date within your system. You will select “Calendar Event” or “Date” as the Trigger Type.
Automation Options
The action type is the action that will occur once the trigger type is initiated (THEN). The Action Type list items are all the items that you can perform with a trigger.
Add Tag
The Add Tag trigger action automatically adds a tag to the record for organization and drip campaigns. Manage tags via Settings > Manage Tags.
Add a Note
The Add a Note trigger action initiates a note popup for a user to make a note on the file.
Add to Mailchimp List
This trigger action requires your Mailchimp to be integrated with Shape Software. Navigate to Settings > Integrations to connect Mailchimp if you have not done so already. This automatically adds the contact details to the audience that you’ve connected to Shape.
Assign Department User
This trigger action round robins assignment to a particular department of users. This functions as a distribution rule based on a particular trigger type.
Assign User
This trigger action assigns a particular user, functioning as a distribution rule based on a trigger type.
Change Status
This trigger action will automatically change the status based on the selected trigger action.
Complete Checklist Item
This trigger action will automatically check off a checklist item based on your selected trigger type. Manage your checklists via Settings > Manage Checklists.
Convert Record Type
This trigger action automatically moves a record to a different record type category.
Portal Field Entry
Initiate triggers based off of portal fields that your customer inputs. As a customer enters in a field and presses the “Next” button on the application, this portal field entry trigger can be initiated.
Calendar Event Popup
The Create Calendar Event trigger action initiates a calendar popup for a user to create a calendar invite.
Create Task
The Create Task trigger action initiates a task popup for a user to create a task.
Portal Doc Action
This trigger action will add more portal documents automatically based on your trigger type. You can select multiple documents to add in one trigger.
Portal Invitation Sent
This trigger action will automatically send a portal invitation based on your trigger type, allowing you to select the document set.
QuickFire Connect Notification
This trigger action will automatically initiate a QuickFire Connect (phone popup notification) based on your trigger type. Manage your QuickFire Connect settings via Settings > Manage QuickFire Connect. *Requires phone settings.
Remove Portal Doc
This trigger action will remove portal documents from a record’s needs list. You can select multiple in one trigger.
Send Email
This trigger action will allow you to send a templated email based on your trigger type selection. Manage your email templates via Settings > Email Templates.
Send SMS
This trigger action will allow you to send a templated text based on your trigger type selection. Manage your text templates via Settings > SMS Templates.
Send MMS
This trigger action will allow you to send a templated MMS based on your trigger type selection. Manage your MMS templates via Settings > MMS Templates.
Send to LOS
This trigger action will automatically create a new loan file and establish the bi-directional sync between Shape and your connected LOS. This is the automated version of “Sync to LOS” from within the record details page. *Requires LOS Connection, available in mortgage templates.
Webhooks
This trigger action initiates an outbound webhook from Shape to a third party system. Manage outbound webhooks via Settings > Manage Webhooks.
Frequently asked questions
My trigger that I set up did not go off.
Please reach out to support@setshape.com with all of the details so we can look into this for you!
Include important details such as the name of the trigger, example record, and what your goals were for the trigger and we will be happy to get you the details you need!
How many times will a trigger run before it stop attempting the trigger?
We have a validation on triggers to avoid infinite loops and protect the system from crashes. A trigger will attempt to run on the same record a maximum of 10 times. After ten times the trigger will no longer attempt to fire for that record.
Do you have pre-made holiday and birthday emails?
Yes! You will find these under the Marketing: Holidays and Marketing: Birthdays Automation folders.
When turned ON, these will go out to your entire database outside of those that have opted out of communications.
Can I filter triggers to only go out to specific contacts?
This level of filtering is more appropriate for drip campaigns whereas triggers are meant to apply across your entire database.
Can Shape send data to another application
Yes! This is done by creating a webhook in Settings > Manage Webhooks, then, create a trigger for what you want to happen in order to send that data out of Shape.
Most commonly, it is done based on status, so when the status reaches X, then webhook that contact out of Shape.
Can I receive a notification when the status changes?
Yes you can! Create the notification you want to receive in Settings > Email/Text Templates. Then create a trigger that says IF the status reaches X, then send an email/text. The last step is to choose your new template and save the trigger!
Keywords: triggers, trigger name, trigger type, automation, actions, automatic, trigger, if, then, popup, conversion, action type