Table of Contents
Support Guide
RETR + Shape Integration
-
Chloe Larson
Integration Requirements
- Shape Software Account with Admin Access
- RETR Account
Integration Capabilities
- Receive Agents from RETR automatically to Shape
- Receive Loan Officer Recruits from RETR automatically to Shape
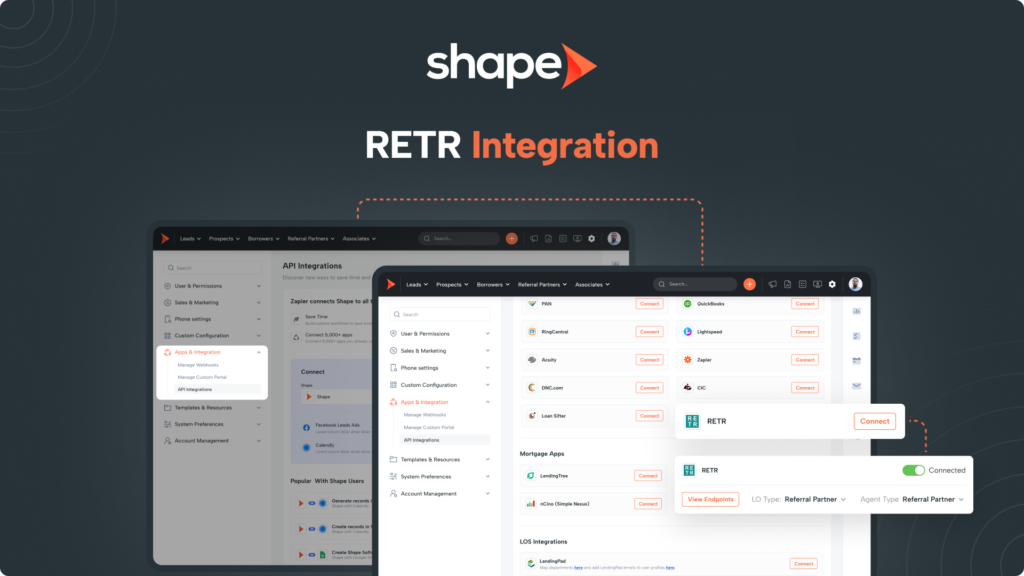
How to Connect Shape to RETR
Connecting Shape to RETR is very easy and can be accomplished in just a few steps:
Once here, click the dropdown on the left titled “Apps & Integrations” to find the API Integrations settings page linked here.
You will see the RETR logo on the correct block!
Scroll back down to the RETR block to select which record type you prefer to receive your LO’s and agents to.
As a tip, LO Recruits are most commonly sent to the “Contacts” record type and Agents to the “Referral Partner” record type.
Once connected, endpoints for each of your individual users will be automatically generated. When an Agent or LO is send through a particular user's link, they will be automatically assigned as the user!
Fields RETR Will Populate for Agents
- Name: First, Last, and Nickname
- Company Name
- Mobile Phone
- Buyer Count
- Buyer Volume
- Seller Count
- Seller Volume
- Partner Loan Count
- Partner LO's Used
- Partner External ID
- RETR Profile URL
- Loan Count: Conventional, VA, FHA
- Tags
Fields RETR Will Populate for Loan Officers
- NMLS ID
- Name: First, Last, and Nickname
- Company Name
- Company NMLS ID
- Branch Name
- Branch NMLS ID
- Alternate Email
- Mobile Phone
- Work Phone
- Website URL
- LinkedIn URL
- Twitter URL
- Instagram URL
- Zillow URL
- RETR Profile URL
- Other Social Media URL
- Office Address, City, State, and Zip
- Buyer Count
- Buyer Volume
- Seller Count
- Seller Volume
- Loan Count
- Loan Volume
- Loan Volume, Loan Volume (3 Months)
- Partner LO's Used
- Partner External ID
- Loan Count: Conventional, VA, FHA, Other, (3 Months)
- Partner Manager
- Last Transaction Date
- Loan Date
- Last Loan Address
- Last Sale Price
- Last Loan Amount
- Last Buyer 1 and 2
- Last Agent
- Last Agent Company
- Tags
Duplicate Rules for RETR Contacts
It is recommended to create a duplicate management rule specific to contacts received from RETR to ensure that data from the most updated contact from RETR.
For example, if the current record for 2 months ago says 10 transactions in the last 12 months and the new duplicate record says that realtor has 24 transactions in the last 12 month, we will want to update to 24 not keep the old production data that is no longer accurate.
Once here, click the dropdown on the left titled “Sales & Marketing” to find the Duplicate Management settings page linked here.
Click “Add Rule” in the top right to create a new rule. Name the rule “RETR Contacts” or something similar and set the record type to Referral Partners and Contacts.
Also make sure to set the Merge Setting to “Automatic” and toggle the rule to “Active”.
Above the record type field, you with find an orange “Add Advanced Condition” button.
In the new section, set the first dropdown to “Include Sources” and the second dropdown to your RETR Sources.
We recommend setting this to Email or Phone Number as these are more unique than using their name but please feel free to run duplicate management off your preferred fields.
In the Merge Rules, you will want to make sure the New Record is merged into the Existing Record and Overwrite All Fields. This will ensure the old record’s information is updated with the new data!
Frequently asked questions
Of course! Our team is happy to assist with integrating to RETR. Please reach out to help@setshape.com so our team can assist further.
Keywords: RETR, integration, webhook, API, LO, Agent. retr, Zapier