Table of Contents
Support Guide
Using Contact Management List Pages in Shape Software
-
Shape Software
Learn how to use Contact Management List Pages in Shape Software to search, filter, organize, update, and manage records. Includes Quick Actions, Bulk Actions, saved views, columns, exports, indicators, and best practices.
Contact Management List Pages in Shape Software
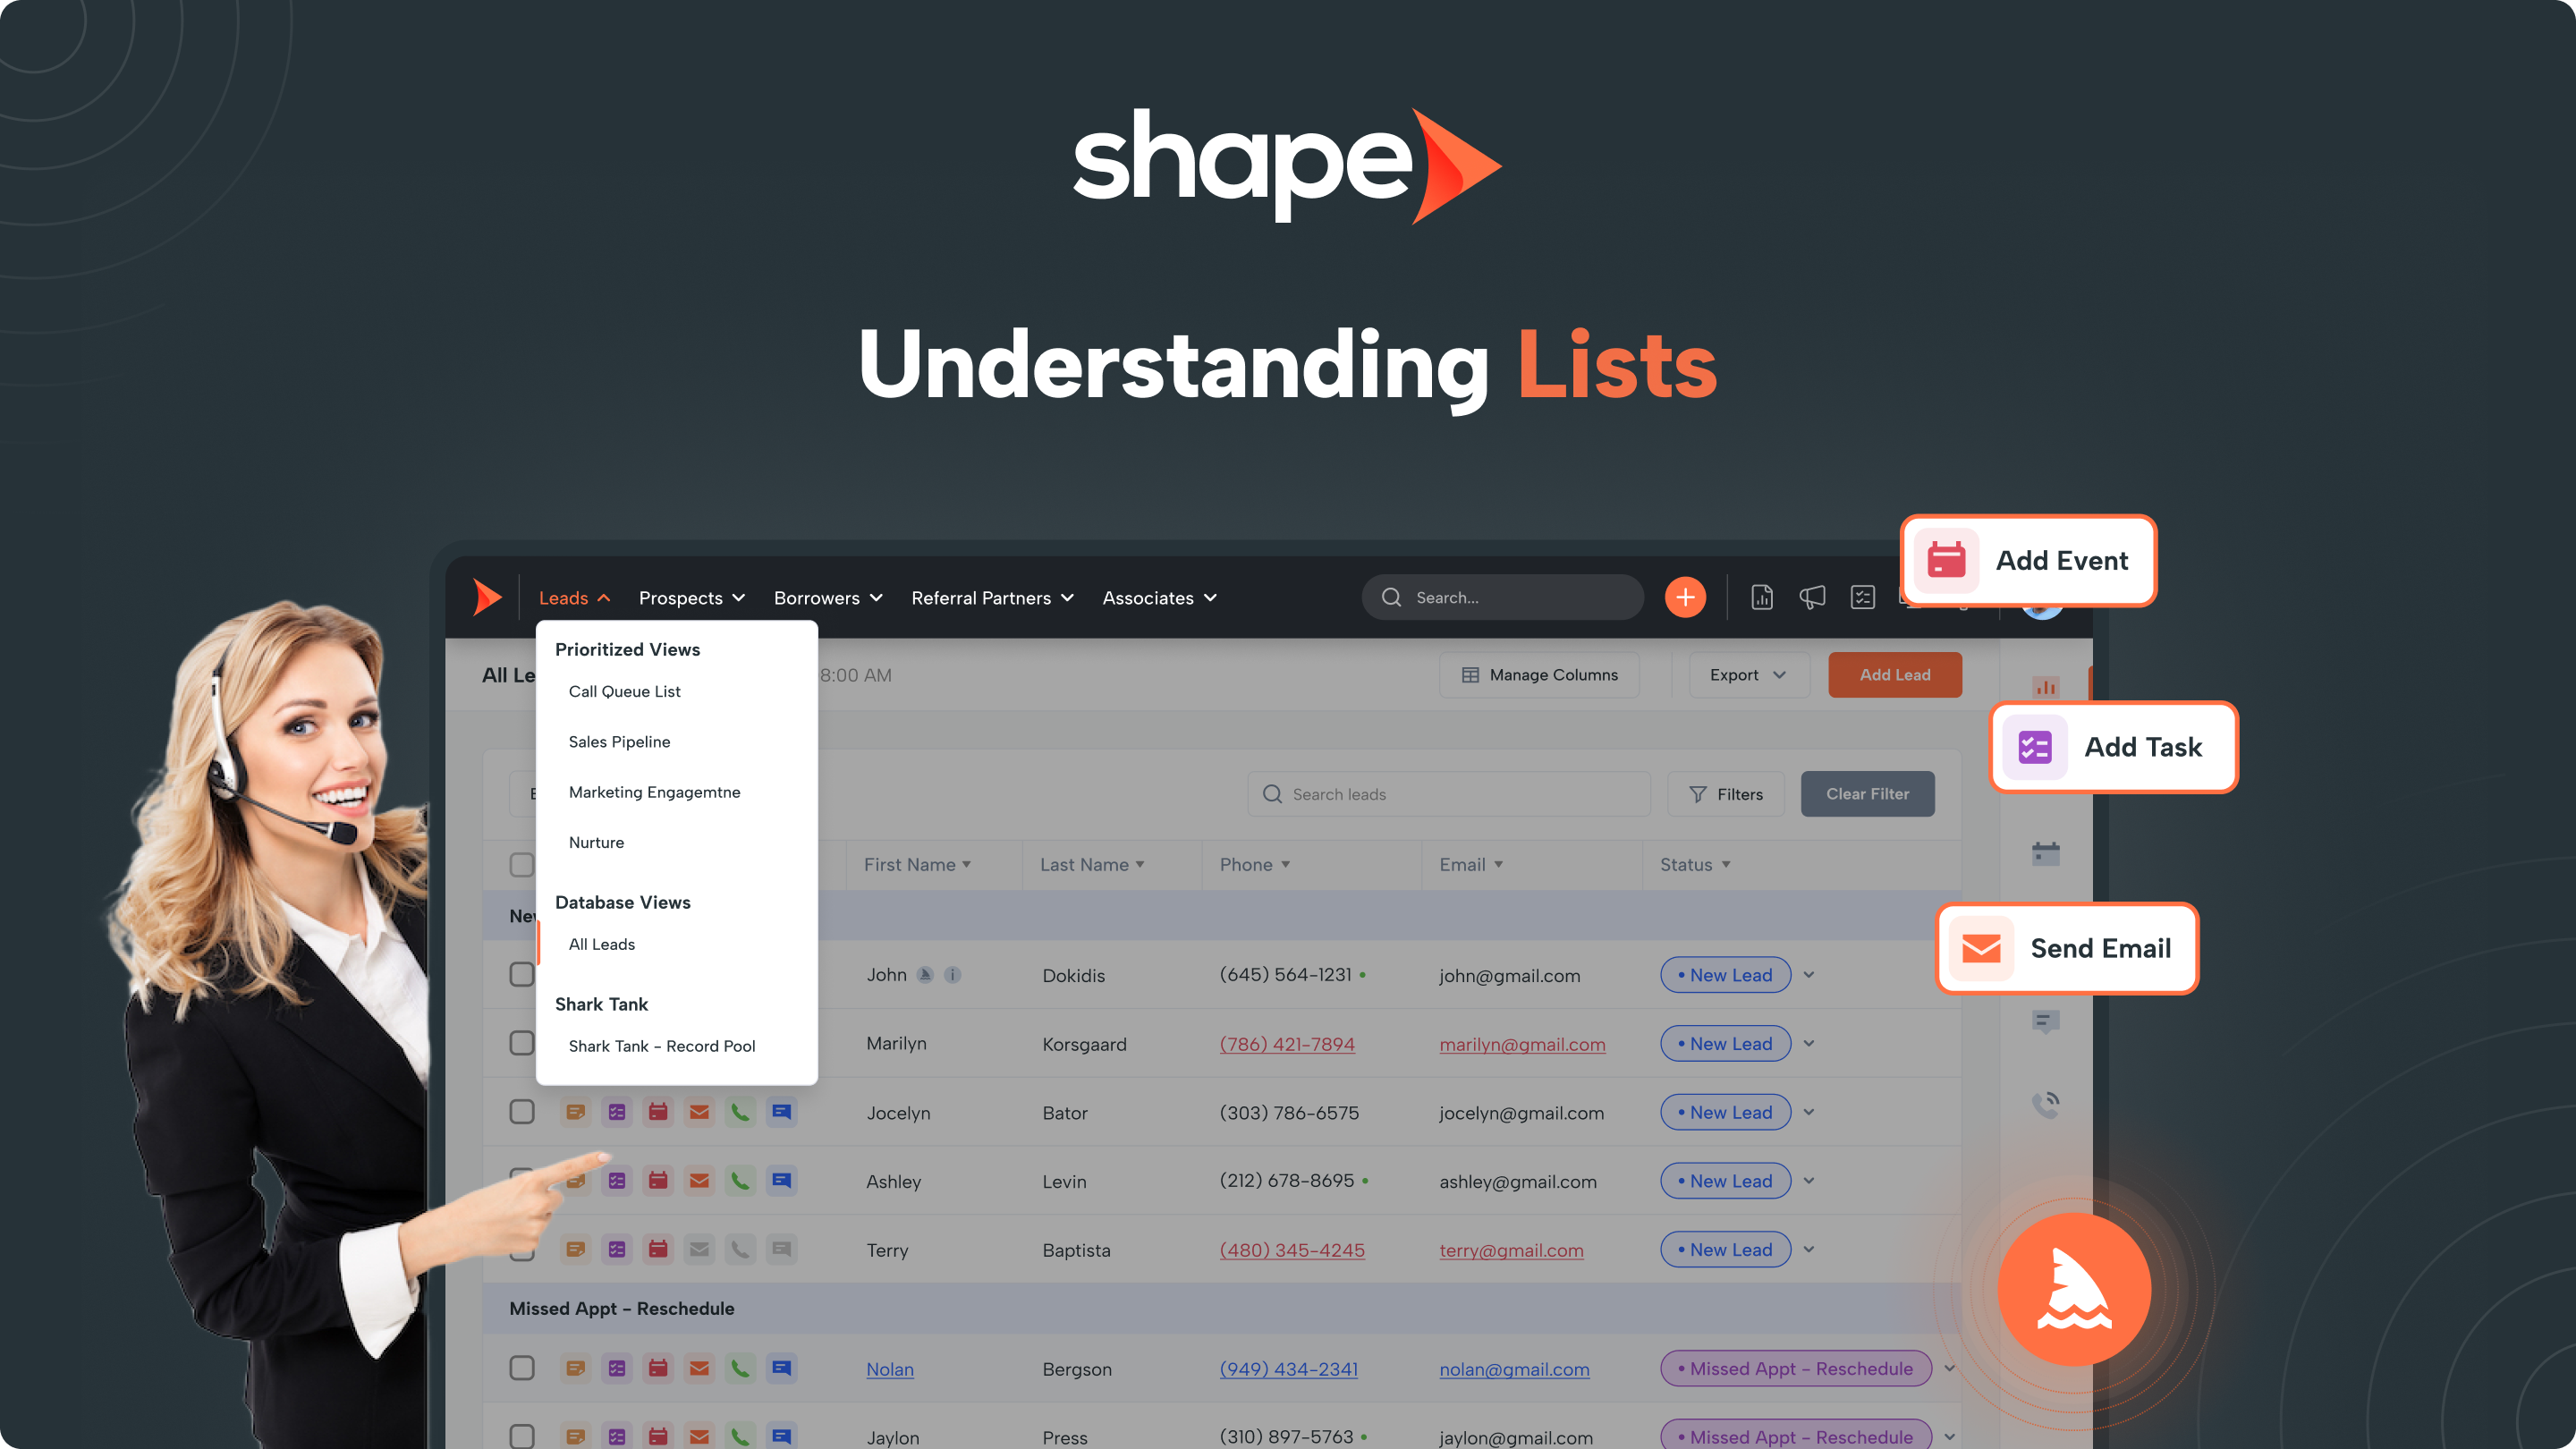
Contact Management List Pages are where users spend much of their time in Shape Software. Whether you're searching for records, organizing your pipeline, updating contacts, or communicating with customers, list pages provide a centralized workspace for managing your data.
Each list page is designed to help you quickly locate records, customize your view, perform actions on one or many records, and navigate your database efficiently.
This guide introduces the core features available across Contact Management List Pages and links to more detailed guides for advanced functionality.
What Are Contact Management List Pages?
Contact Management List Pages display your records in a customizable table, allowing you to view and manage large groups of contacts without opening each record individually.
Depending on your permissions and the type of list you're viewing, you can:
- Search for records
- Filter results
- Sort columns
- Customize displayed columns
- Save custom views
- Perform Quick Actions
- Run Bulk Actions
- Export records
- Open individual records
Most users spend the majority of their day working from Contact Management List Pages.
Types of Contact Management List Pages
Shape Software offers several types of list pages designed for different workflows.
Database Views
Database Views display all records for a specific record type without any pre-configured prioritization, sorting, or filters. By default, records are simply sorted by Created Date, with the newest records appearing first.
Because Database Views don't prioritize which records should be worked next, they're best suited for searching, filtering, reporting, and working with specific segments of your database.
For day-to-day lead management, we generally recommend using Prioritized Views, which automatically organize records based on your organization's prioritization rules to help users focus on the right opportunities at the right time.
Related Guide: Prioritized Views: https://setshape.com/support-guides/prioritization-rules
Prioritized Views
Prioritized Views automatically organize records based on configurable prioritization rules, helping users focus on the records that require attention first.
Unlike Database Views, Prioritized Views intentionally surface the highest priority opportunities based on your organization's rules.
Related Guide: Prioritized Views: https://setshape.com/support-guides/prioritization-rules
Shark Tank
Shark Tank provides shared lead queues where qualified users can claim records that meet your organization's Shark Tank rules.
Depending on configuration, users can either choose which record to claim or allow Shape Software to automatically assign the next eligible record.
Related Guide: Shark Tank: https://setshape.com/support-guides/shark-tank-in-shape-software
All Records
The All Records list page combines every contact record you have permission to access into a single list.
This makes it easy to search and manage records across multiple contact types without switching between separate list pages.
Related Guide: All Records List Page: https://setshape.com/support-guides/using-the-all-records-list-page
Searching Records
There are two ways to search within Shape Software.
Master Search
The Master Search located in the top navigation searches across your available records regardless of the list page you're viewing.
Use Master Search when you're trying to locate a specific record quickly.
List Page Search
Each Contact Management List Page also includes its own search box.
The List Page Search only searches within the records currently displayed.
If you've applied filters, the search is limited to those filtered records.
If you can't find a record, first clear your filters or try using the Master Search instead.
Filtering Records
Filters help narrow your results so you can focus on the records that matter most.
Contact Management List Pages support powerful filtering capabilities, including standard system fields and custom fields created by your organization.
Filters can be saved as reusable views, making it easy to return to commonly used searches.
Related Guide: Using Filters: https://setshape.com/support-guides/using-filters
Sorting Records
Many list page columns can be sorted by selecting the column header.
Fields containing values such as dates, numbers, and alphabetical text can typically be sorted in ascending or descending order by clicking the column header. Click the header once to sort in one direction, then click it again to reverse the sort order.
Some columns, however, do not support sorting due to the type of data they display. In these cases, we recommend using Filters to narrow your results instead.
Sorting is a quick way to organize records by common values, while Filters provide more advanced options for locating specific groups of records.
Tip: Birthday fields, including Borrower Date of Birth, Co-Borrower Date of Birth, and Referral Partner/Contact Date of Birth, are sorted by month and day, rather than by year. This makes it easy to identify upcoming birthdays regardless of the contact's birth year.
Managing Columns
Every user can personalize most Database Views by selecting which columns appear on the list page.
You can:
- Show or hide columns.
- Reorder columns.
- Resize columns.
- Save your preferred layout.
Some list pages, such as Prioritized Views and Shark Tank, may have administrator-defined locked columns that cannot be modified.
Saved Views
If you frequently use the same filters or column layouts, you can save them as a custom view.
Saved Views allow you to quickly return to commonly used record lists without rebuilding your filters each time.
Users can:
- Create Saved Views.
- Rename Saved Views.
- Delete Saved Views.
Quick Actions
Quick Actions allow you to perform common tasks without opening the full record.
Depending on your permissions and enabled features, Quick Actions may include:
- Call
- Text
- Notes
- Tasks
- Calendar Events
Shark Tank list pages also include the Claim action, allowing users to claim ownership of eligible records directly from the list.
Related Guide: Quick Actions: https://setshape.com/support-guides/using-quick-actions
Bulk Actions
Bulk Actions allow you to update multiple records simultaneously.
Rather than opening records individually, you can select one or more records and perform actions such as assigning records, updating statuses, sending communications, tagging contacts, and more.
Related Guide: Bulk Actions: https://setshape.com/support-guides/bulk-actions
Exporting Records
Users with the appropriate permissions can export records directly from supported Contact Management List Pages.
Exports respect your current filters, allowing you to export only the records relevant to your current view.
Related Guide: Exporting: https://setshape.com/support-guides/exporting-in-shape-software
Record Indicators
Contact Management List Pages include several visual indicators that help users quickly understand important information without opening each record.
Called Today
A green checkmark next to a phone number indicates that the record has already been called today. This indicator resets daily.
Communication Opt-Out Indicators
Visual indicators identify contacts who have opted out of one or more communication methods, helping users avoid contacting recipients who are no longer eligible to receive communications.
Email Authentication Indicators
Email indicators provide insight into the status of a contact's email address, allowing users to quickly identify authentication or deliverability information directly from the list page.
Best Practices
- Save frequently used filters as Saved Views.
- Use Bulk Actions when updating multiple records.
- Review record indicators before contacting a customer.
- Use the Master Search when you aren't sure where a record is located.
- Customize your columns to display the information most relevant to your role.
Frequently Asked Questions
Why can't I find a record?
First, clear any filters applied to the current list page. If you're still unable to locate the record, try using the Master Search in the top navigation.
Why don't my columns match another user's?
Database Views are customizable for each user. However, administrators can lock columns on Prioritized Views and Shark Tank list pages, resulting in a standardized layout for those views.
Can I customize every list page?
Most Database Views can be customized. Some specialized list pages may have administrator-defined layouts.
Can I save my own views?
Yes. Users can save, rename, and delete their own Saved Views.
Why are some actions missing?
Available Quick Actions, Bulk Actions, exports, and other features depend on your user permissions and your organization's enabled features.
Keywords: List, Pipeline, Prioritized View, Database View, Shark Tank, Saves Lists, Green Checkmark, Quick Actions, Delete Records, Bulk Actions, Communication