Table of Contents
Support Guide
Call Forwarding Phone Preference in Shape Software
-
Shape Software
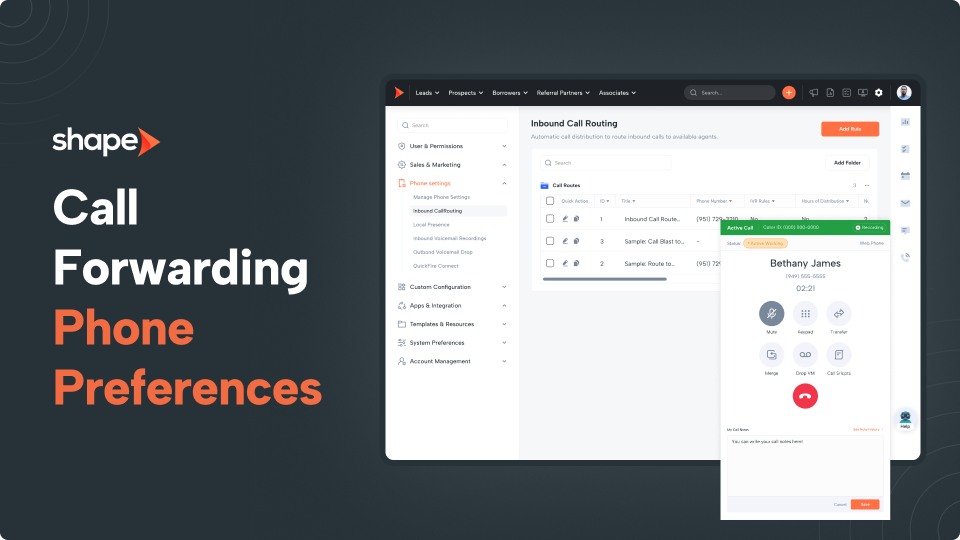
Learn how to configure your Call Forwarding phone preference in Shape. Receive inbound calls and make outbound calls using your mobile phone or desk phone while continuing to use Shape's built-in phone system.
Call Forwarding in Shape
Shape offers two methods for making and receiving phone calls:
- Webphone – Make and receive calls directly from your browser using your computer's microphone and speakers.
- Call Forwarding – Route calls through an external phone, such as your mobile phone or desk phone.
Call Forwarding is ideal for users who spend time away from their desks or prefer using their existing business or mobile phone while still taking advantage of Shape's built-in calling features.
When using Call Forwarding, calls continue to route through your Shape phone number. Shape simply uses your forwarding number as the device that facilitates the conversation.
This means your callers continue to see your configured Shape caller ID, while you answer the call on the phone that's most convenient for you.
Before You Begin
Call Forwarding requires your organization's phone system to be configured.
During onboarding, the Shape team will typically assist with:
- Enabling your phone integration
- Configuring your communication services
- Purchasing Shape phone numbers
- Assigning caller ID numbers
If your organization hasn't completed phone setup yet, visit Settings → Manage Phone Settings or contact your Shape Account Manager or Shape Support for assistance.
How Call Forwarding Works
Unlike a traditional phone system, Shape always places calls through your Shape phone number.
When making an outbound call using Call Forwarding:
None
Click Call in Shape
       ↓
Shape calls your forwarding number
       ↓
You answer your phone
       ↓
Shape places the outbound call
       ↓
You're connected to your customer
For inbound calls, Shape first follows your configured Inbound Call Route. If your route calls the User, Shape checks your current phone preference.
If your preference is Call Forwarding, the call is delivered to your forwarding number automatically.
Configuring Your Phone Preference
Your phone preference can be changed at any time.
There are two locations where you can update this setting:
- The dialer
- Your User Profile
Navigate to:
Profile → Phone Settings
or use the phone preference selector located within the dialer.
Choose:
- Webphone
- Call Forwarding
Then enter the phone number you'd like Shape to call whenever you're using Call Forwarding.
Click Save.

Switching Between Webphone and Call Forwarding
One of the biggest advantages of Shape is that your preferred calling method isn't permanent.
You can switch between Webphone and Call Forwarding whenever needed.
For example:
- Working from the office? Use the Webphone.
- Working remotely? Switch to Call Forwarding.
- Traveling? Forward calls to your mobile phone.
There's no need to modify your inbound call routes each time you change locations.
How Call Forwarding Works with Inbound Calls
If your Inbound Call Route uses the User call flow rule, Shape automatically follows your selected phone preference.
For example:
None
Inbound Call
       ↓
Call User
       ↓
Phone Preference
       ↓
Webphone
or
None
Inbound Call
       ↓
Call User
       ↓
Phone Preference
       ↓
Call Forwarding
This allows you to change how you receive calls without editing your routing rules.
Best Practice: We recommend using the Call User rule whenever possible. It gives users the flexibility to switch between the Webphone and Call Forwarding at any time without requiring administrators to update inbound call routes.
Forwarding Directly to an External Number
Some organizations always want a phone number to ring an external line regardless of the assigned user's phone preference.
In these situations, configure your Inbound Call Route to use the Call Direct Number rule instead.
This bypasses the user's phone preference entirely and always forwards calls to the specified external number.
This approach is commonly used for:
- Reception desks
- Third-party answering services
- External call centers
- Shared office phones
Call Recording
Calls routed through Call Forwarding still support Shape's native call recording capabilities.
If your organization has enabled Record All Calls Automatically, forwarded calls are recorded just like calls answered through the Webphone.
Recordings remain available in:
- Contact Timeline
- Call Recording Report
- Call History
Best Practices
- Use the Webphone when working primarily from your computer.
- Use Call Forwarding when working remotely or away from your desk.
- Keep your forwarding phone number up to date.
- Configure your Inbound Call Routes using Call User whenever possible to allow users to switch phone preferences without administrator assistance.
- If forwarding to a mobile phone, avoid enabling Do Not Disturb mode, as some devices automatically reject incoming calls. This can cause Shape to treat the call as unanswered and move to the next routing rule.
Frequently Asked Questions
What's the difference between Webphone and Call Forwarding?
The Webphone places and receives calls directly through your browser using your computer's audio devices.
Call Forwarding delivers calls to an external phone, such as your mobile phone or desk phone, while still routing the call through Shape.
Can I switch between Webphone and Call Forwarding?
Yes. You can change your phone preference at any time from your profile or directly within the dialer.
Will inbound calls follow my phone preference?
Yes.
If your Inbound Call Route uses the Call User rule, Shape automatically routes calls based on your current phone preference.
Do I need to change my inbound routing every time I switch devices?
No.
As long as your inbound route uses the Call User rule, Shape automatically follows your selected phone preference.
Can I route inbound calls directly to my mobile phone?
Yes.
Configure your Inbound Call Route to use Call Direct Number if you always want calls routed to a specific external phone number.
Will forwarded calls still be recorded?
Yes.
Calls routed through Shape continue to support native call recording when recording is enabled for your organization.
Will customers see my personal cell phone number?
No.
Outbound calls continue to display your configured Shape caller ID. Your forwarding number is simply used to facilitate the call.
Can I receive transferred calls while using Call Forwarding?
Yes.
Warm transfers, cold transfers, and no-hold transfers all work with Call Forwarding. However, we recommend testing your forwarding device and avoiding Do Not Disturb mode, as some mobile devices automatically reject transferred calls.
Which option does Shape recommend?
For the best overall experience, we recommend using the Webphone, as it provides the fastest connection and seamless access to all native calling features. However, Call Forwarding is an excellent option for users who frequently work away from their desks or prefer using an existing mobile or desk phone.
Keywords: