Table of Contents
Support Guide
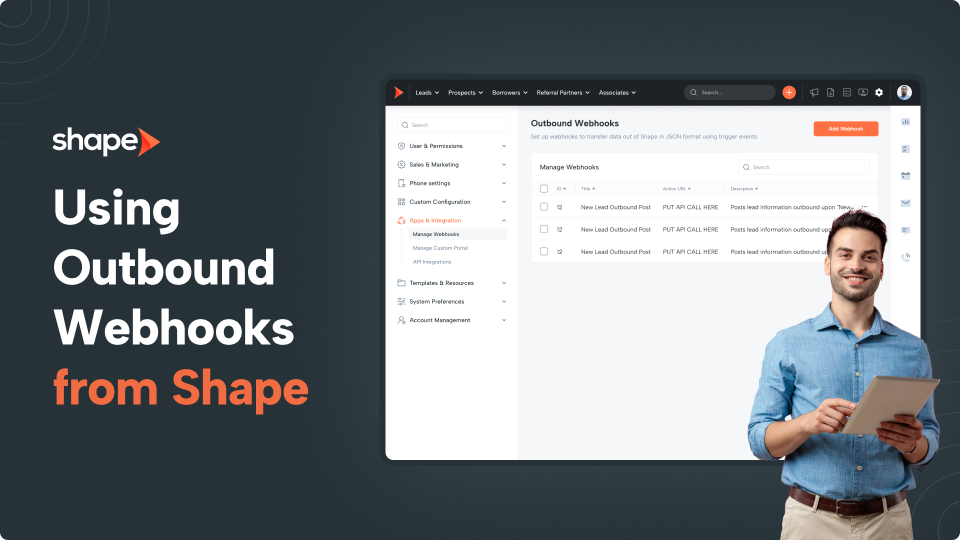
Using Outbound Webhooks from Shape
-
Shape Software
How to Utilize Outbound Webhooks from Shape
A webhook is a way for an app to provide other applications with real-time information. A webhook delivers data to other applications as it happens, meaning you get data immediately.
Creating an Outbound Webhook
The first step in creating and consuming a Shape webhook is getting the URL to deliver requests to. This is most often done through a backend panel or an API. After creating/gathering the webhook URL, enter any headers or parameters required and choose the data points from Shape that you are requesting.
- Go to Settings>Manage Webhooks
Start by navigating to "Settings" in the top gradient bar. Next click the dropdown labeled "Integrations" to find the "Manage Webhooks" settings page.
Manage Webhooks: https://secure.setshape.com/manage-webhooks
- Create a new outbound webhook or edit an existing one
You can create a new outbound webhook by clicking "Add Webhook". You will also find 3 pre-made webhooks in your system to get you started. These are set up for you and only need the API call URL for application you are sending data to.
- Title your webhook and set the header/parameters
Add a title and description for your webhook. The title will be important if setting up triggers for your webhook. If your webhook requires any headers or parameters (like application type or required authentication codes or fields) add them to these fields.
- Add the API call URL provided by the application you are sending data to
The most important parts of the webhook involve the API Call URL. This is where you input the URL to which Shape will be sending information. Please be sure this URL is secure.
An example URL being the catch hook URL that is provided in Zapier. When you set up a catch hook in Zapier, a unique URL is generated to receive the data and that URL will go in the API Call URL field in Shape if connecting Shape to Zapier.
- Choose the type of data as well as the Shape fields being sent
Choose the “Type” of information you will be sending. Select “Field”, “File”, or “Field+File”. You will also find the "Fields" dropdown to choose what Shape data fields are being sent out.
Note: To utilize Shape API calls (like status updates or getting information, you’ll need to send out the ID field)
Initiating Webhooks with Triggers
With Shape webhooks, you must create the webhook and then set up a trigger via “Manage Triggers.” Most commonly, the trigger is set to initiate the outbound webhook based on status.
- Create a new trigger by clicking "Choose" then "Edit" on one of your trigger sets.
- Click "Add Trigger" to add a new trigger to your trigger set for this outbound webhook.
- Ensure your trigger is set to ON as having it OFF will not initiate the webhook.
- For the action type, choose “Webhooks."
- Select the webhook that you wish to send your data through when the webhook is initiated.
Note: Webhooks deliver data to your application and may stop paying attention after making a request. This means if your application has an error your data may be lost.
Webhooks can make a lot of requests. If your provider has a lot of events to tell you about, they may end up DDoSing your app. Make sure your application can handle the expected scale of your webhook.
Frequently asked questions
If there is a field that you do not find on this page, you will likely need access to our open API for this data. Please reach out to support@setshape.com for assistance with this.
Marketing Sources Posting URL Guide: https://setshape.com/support-guides/marketing-sources
Keywords: outbound, webhooks, output, POST, JSON, API, URL, manage webhooks, trigger, API Call URL, fields, headers, parameters